Position Model
Position Model Manually
1. Press the ![]() icon on the left Toolbar.
icon on the left Toolbar.
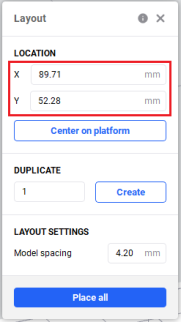
2. Click on the X or Y field representing each of the axes and set the required distance value using either manual input or the mouse scroller.

Duplicate and Auto-place Models
1. Press the ![]() icon on the left Toolbar.
icon on the left Toolbar.
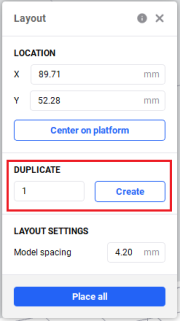
2. In the Duplicate field, enter the desired number of copies using either manual input or the mouse scroller.

3. Press Create.
→ The specified number of model copies is added to the platform.
4. In the Model spacing field, enter the desired distance between models using either manual input or the mouse scroller.
Position Model Automatically
With automatic model positioning, you can place and level multiple models in a printable space with a single click.
- Center on platform: The model(s) are placed in the center of the platform.
- Place All: The model(s) are placed automatically according to their surface contours.