There are several ways to send your job file to the printer:
-
Load a job file directly from Live Build DLP
-
Load a job file from a USB drive
-
Load a job file via FTP
Load Job from Live Build DLP
1. Open the Live Build DLP.
2. Click on the printer image on the top right corner.
→ The Print menu is open.
3. Select Print.
→ The following window appears:
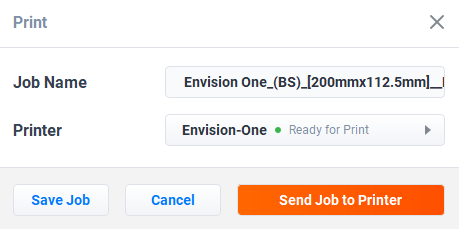
4. Select the Printer field.
→The following window appears:
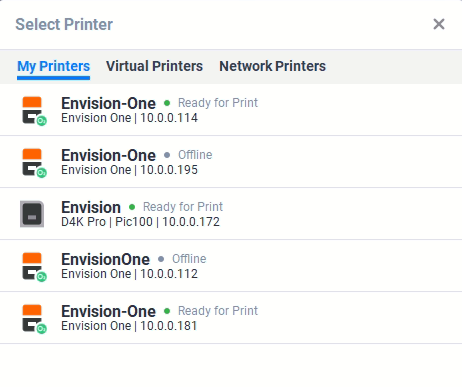
5. Select a printer to send your job to.
6. Select Send job to printer.
→ The job is sent to the selected printer.
Load Job from USB Drive
1. Upload the required job to the USB drive as described above.
2. Insert the USB drive with the uploaded job into the corresponding plug of the printer.
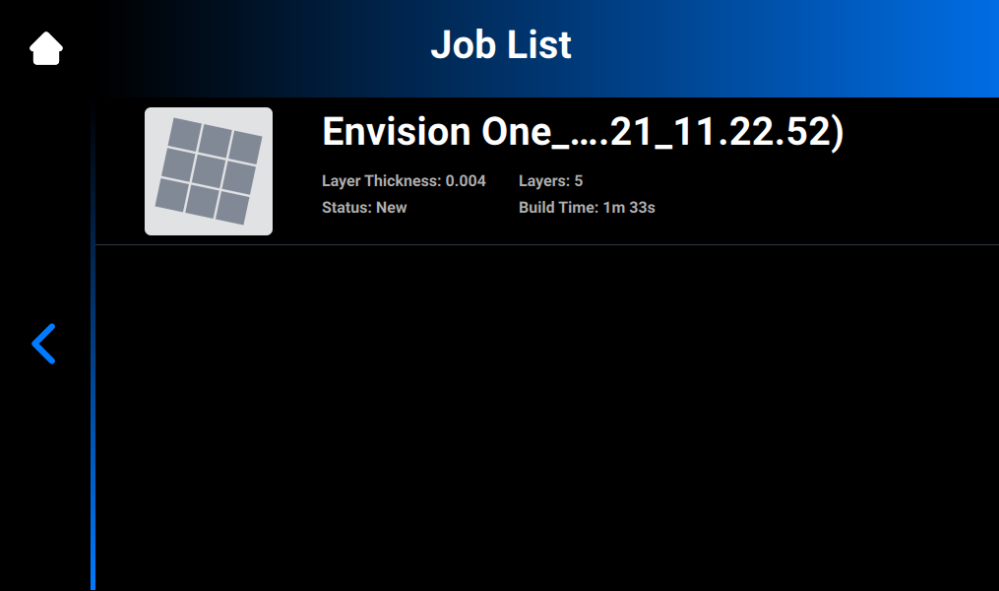
→ The job is automatically added to the Job List on the home screen.
Load Print Job from the Network Folder
To load a job to the printer:
1. Enter Run into the Windows search field or use the <Windows> + <R> hotkey on your computer keyboard.
→ The Run window opens.
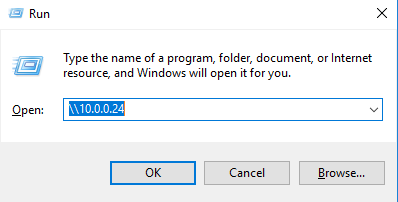
2. Enter the IP address of the printer, e. g.: \\10.0.0.24.
→ The Windows file explorer opens, showing the folders on the printer.
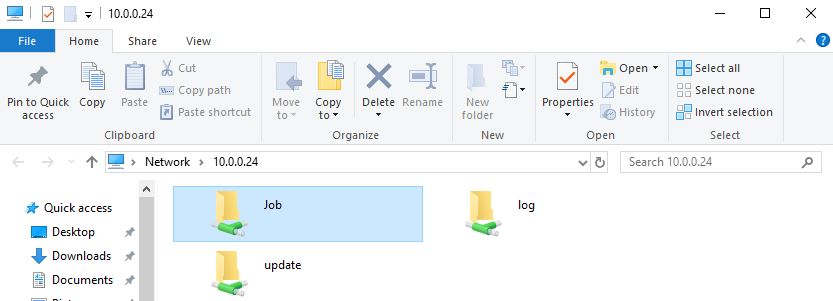
3. Open the Job folder.
4. Put the job files in the folder.
→ All the files from the Job folder are now shown in the Job List tab on the printer touchscreen.
Map a Network Drive in Windows
Map a network drive to access the Jobs folder from File Explorer in Windows without having to search for it or type its network address each time.
Windows 10
1. Open File Explorer from the taskbar or the menu, or select the Windows logo key + E.
2. Select This PC from the left pane.
3. On the Computer tab, select Map network drive.
→ The following screen appears.
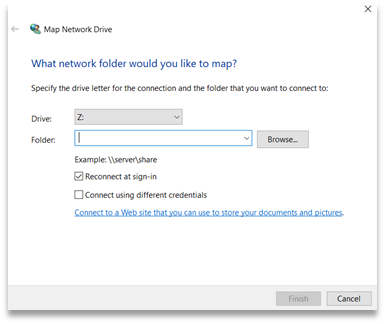
4. In the Drive drop-down list, select a drive letter (you can select any available letter).
5. In the Folder field, type the path of the folder or computer, or select Browse to find the folder or computer. To connect each time you sign in to your PC, check the Reconnect at sign-in checkbox.
6. Select Finish.
Windows 11
1. Open File Explorer from the taskbar or the Start menu, or select the Windows logo key + E.
2. Select This PC from the left pane.
3. On the File Explorer ribbon, select More > Map network drive.
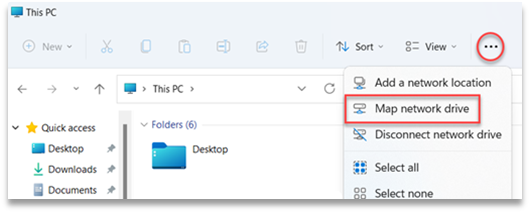
→ The following screen appears.
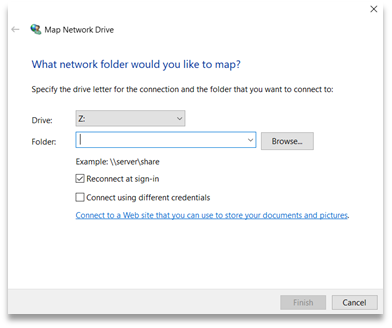
4. In the Drive drop-down list, select a drive letter (you can select any available letter).
5. In the Folder field, type the path of the folder or computer, or select Browse to find the folder or computer. To connect each time you sign in to your PC, check the Reconnect at sign-in checkbox.
6. Select Finish.
Create Shortcut
To create a shortcut to a network place in Windows allowing you to access FTP and Windows file shares, proceed as follows:
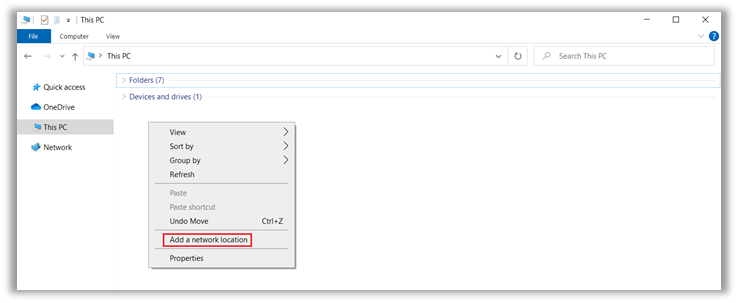
1. Open the Start menu, then search and select This PC.
2. Right-click on any empty space and select Add Network Location.
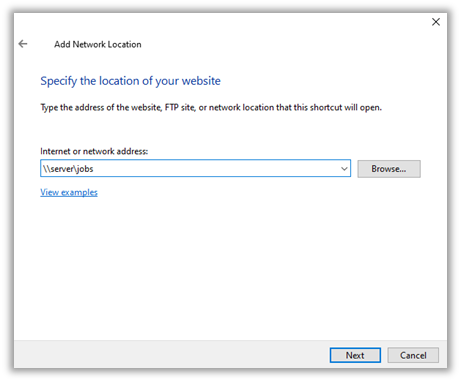
3. Select Next on the Add Network Location Wizard that opens.
4. Select Choose a custom network location and select Next.
5. Type in the address, FTP site, or network location, then select Next.
6. In the screen that appears, type a name for the network and select Next.
7. Select Finish on the Add Network Location Wizard screen.
→ The location is now listed under Network Locations tab in This PC.